Configuring Amazon Cognito authentication for OpenSearch Dashboards in AWS CDK
- Published on
- Authors
- Name
- Binh Bui
- @bvbinh


Photo by Annie Theby
Amazon OpenSearch Service offers several ways to control access to your domains.
You can use Amazon Cognito to authenticate and protect your domains. This article will show you how to do this using the AWS CDK.
// cognito user pool
const userPool = new cognito.UserPool(this, 'UserPool', {
  selfSignUpEnabled: false,
  signInAliases: {
    email: true,
  },
  autoVerify: {
    email: true,
  },
  passwordPolicy: {
    minLength: 8,
    requireLowercase: false,
    requireUppercase: false,
    requireDigits: false,
    requireSymbols: false,
  },
})

// cognito user pool domain
new cognito.UserPoolDomain(this, 'UserPoolDomain', {
  userPool,
  cognitoDomain: {
    domainPrefix: `${applicationPrefix}-${suffix}`,
  },
})

// cognito user pool identity pool
const idPool = new cognito.CfnIdentityPool(this, 'IdentityPool', {
  allowUnauthenticatedIdentities: false,
  cognitoIdentityProviders: [],
})

const esAdminUserRole = new iam.Role(this, 'esAdminUserRole', {
  assumedBy: new iam.FederatedPrincipal(
    'cognito-identity.amazonaws.com',
    {
      StringEquals: { 'cognito-identity.amazonaws.com:aud': idPool.ref },
      'ForAnyValue:StringLike': {
        'cognito-identity.amazonaws.com:amr': 'authenticated',
      },
    },
    'sts:AssumeRoleWithWebIdentity'
  ),
})

// Attach roles to Identity Pool
new cognito.CfnIdentityPoolRoleAttachment(this, 'IdentityPoolRoleAttachment', {
  identityPoolId: idPool.ref,
  roles: {
    authenticated: esAdminUserRole.roleArn,
  },
})

const elasticsearchHttpPolicy = new iam.ManagedPolicy(this, 'elasticsearchHttpPolicy', {
  roles: [esAdminUserRole],
})

// allow the elasticsearch http policy full access to the domain
elasticsearchHttpPolicy.addStatements(
  new iam.PolicyStatement({
    effect: iam.Effect.ALLOW,
    resources: [domainArn],
    actions: ['es:*'],
  })
)

// Policy that grants Amazon OpenSearch Service the access to your Cognito resources.
const esRole = new iam.Role(this, 'esRole', {
  assumedBy: new iam.ServicePrincipal('es.amazonaws.com'),
  managedPolicies: [iam.ManagedPolicy.fromAwsManagedPolicyName('AmazonESCognitoAccess')],
})

// elasticsearch domain
const esDomain = new opensearch.Domain(this, 'OpenSearch', {
  version: opensearch.EngineVersion.ELASTICSEARCH_7_10,
  domainName: applicationPrefix,
  enableVersionUpgrade: true,
  removalPolicy: RemovalPolicy.DESTROY,
  capacity: {
    dataNodes: 1,
    dataNodeInstanceType: 't3.small.search',
  },
  encryptionAtRest: {
    enabled: true,
  },
  nodeToNodeEncryption: true,
  enforceHttps: true,

  ebs: {
    volumeSize: 10,
    volumeType: ec2.EbsDeviceVolumeType.GP2,
  },

  cognitoDashboardsAuth: {
    identityPoolId: idPool.ref,
    userPoolId: userPool.userPoolId,
    role: esRole,
  },
})
Note: Source code of this tutorial is available GitHub
Let's go over what we did in the code above:
- We created a Cognito User Pool
- We created a Cognito User Pool Domain.
- Created a identity pool for the Cognito User Pool and attached the roles to the identity pool.
- Config CognitoAccessForAmazonOpenSearch role to allow the Amazon OpenSearch Service to access the Cognito User Pool.
- Created a search cluster consists of a single t3.small.elasticsearch instance with 10GB of EBS storage
Deploy the stack
yarn deploy
Testing
As soon as the application is deployed completely the outputs of the AWS CloudFormation stack provides the links for the next steps. You will find two URLs in the cdk-outputs.json called createUserUrl and kibanaUrl.
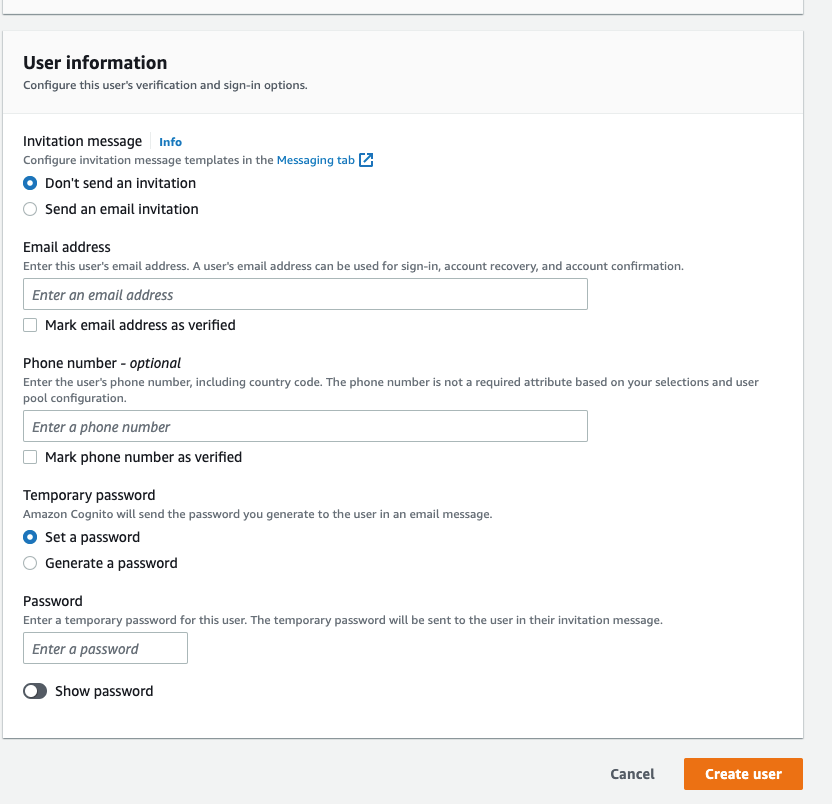
- Use the createUserUrl link from the outputs, or navigate to the Amazon Cognito user pool in the console to create a new user in the pool. Enter an email address as username and email. Enter a temporary password of your choice with at least 8 characters. Leave the phone number empty and uncheck the checkbox to mark the phone number as verified. If you like you can check the checkboxes to send an invitation to the new user or to make the user verify the email address. Then choose Create user.

- Access the Kibana dashboard with the kibanaUrl link from the outputs, or navigate to the Kibana link displayed in the Amazon Elasticsearch Service console.

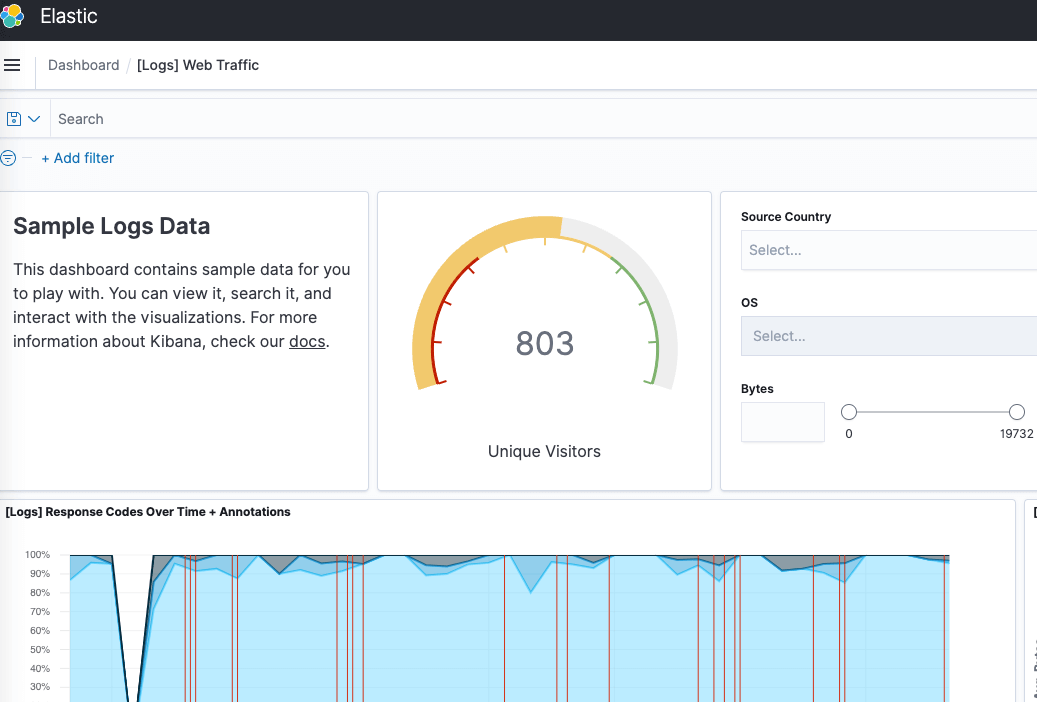
After OpenSearch Dashboards loads, configure at least one index pattern. Dashboards uses these patterns to identity which indices that you want to analyze. Enter *, choose Next step, and then choose Create index pattern.
To search or explore your data, choose Discover.
Cleaning Up
To avoid incurring charges, delete the AWS CloudFormation stack when you are finished experimenting via npx cdk destroy in the directory where cdk.json is:
npx cdk destroy
Thanks for trying out this tutorial! If you have any questions, please leaving a comment in the comments section. We will try to respond to your questions as soon as possible.